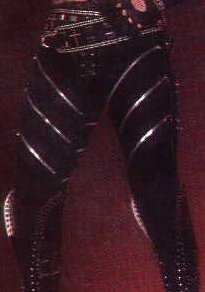
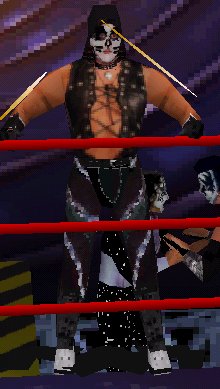
This is the only picture I have found that shows the leg portion of the outfit. This is not an outstanding picture, but it will suffice.
Since the image is very dark, a lot of the detail is obscured. Therefore, portions of the outfit will have to be drawn by hand.
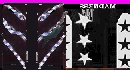
Of course, the image will have to be resized before portions of it can be copied and pasted into the .raw image. I have already shown you how this is accomplished.
Now that I have checked the appearance, I will begin working on the other leg. Actually, I will just copy the leg I have already done and use it to replace the other leg.
After replacing the second leg, the white portions of the front of the trunks need to be filled in with black using the Paint Brush tool.
I could also fill in the white portions of the boots if I wanted too. However, I like the look of the boots as-is, so I will make no changes to them. Therefore, the skin is complete.
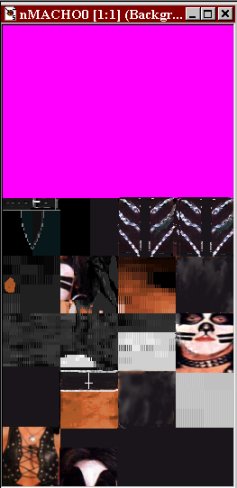
Following these changes, the .raw file looks like this:
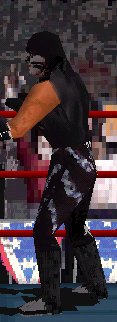
Here is a screen shot of the finished skin:
So, I’m finished, right? Not quite!
There are several things left to do. First, I will show you how to convert the skin into a non-3D format. Following that, I will be making the menu art. Finally, I will show you how to create the .zip file to share the creation with others.
Previous Page
Next Page