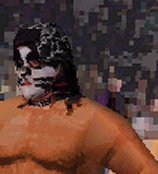
This is how the face looks so far. Next, I need to get rid of the bandana and replace it with hair. Since Peter Criss has straight black hair, I can just fill-in the blocks containing the side, top, and back of the head with black. This can be done by using the Selection Tool to select the blocks and fill them using the Paint Bucket Tool.
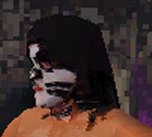
After these changes, the face and head now looks like this:
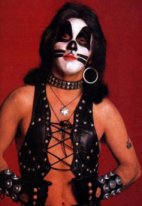
Now that the face is complete, I will begin work on the outfit. I have several pictures of Peter Criss, including pictures of several different outfits. I will only be making one outfit for this Editing Guide, so I’ve chosen the outfit in the picture to the right:
I will start with the chest. As before, the image will have to be resized to fit the size of the chest in the .raw file. Again, this is a guessing game. Just try out several different percentages to figure out what looks correct. This gets easier to do with practice.
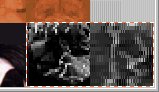
Additionally, the Peter Criss picture has too much red. This can be adjusted with gamma correction as shown below:
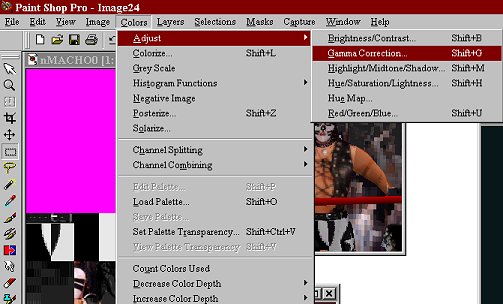
As you can see, I have reduced the amount of red in the image using gamma correction.
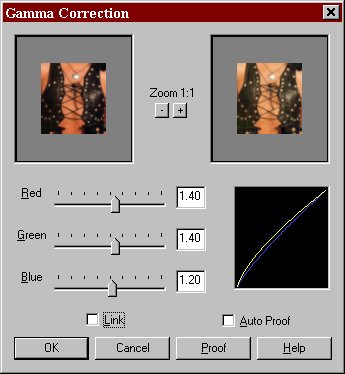
When cutting and pasting, it is often necessary to adjust colors to get a good match. Gamma correction is one option. Changing the hue/saturation is another option. It is often necessary to adjust brightness and contrast as well.
The newly resized and color-adjusted chest section can now be cut and pasted as a new layer into the .raw file. The resulting .raw file is shown on the next page.
Previous Page
Next Page